This article will teach you how to upload custom fonts in Game Lab.
Step 1:
Look up "free font websites" or "fonts" with your search engine.
Step 2:
Next, once you have downloaded a font from the website, get your .tff, .otf, or any font file and change the file endname to .png.

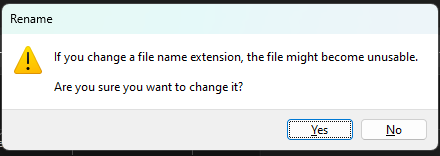
If you get a warning like this, click "Yes".
Step 3:
Go to code.org and open your Game Lab project.
Step 4:
Click the cog in the top row of the Toolbox.
Then, click "Manage Assets".
After that, click "Upload File".
Step 5:
Once the File Explorer (or whatever it's called on MacOS) window pops up, select the .png file you created from the 2nd step.
Step 6:
If the file loads into your project, you have done everything correctly from the previous steps.
Good job!
If not, try again or use a different font. (Using a different font requires you to go back to Step 2.)
Step 7:
Use the loadFont() function to load in your font.
Here is some sample code.
var your_font = loadFont("https://studio.code.org/v3/assets/your_project_id/your_font_name.png");
// Has to be loaded via a draw loop due to lag.
function draw() {
background("white");
textFont(your_font );
textAlign(CENTER, CENTER);
text("TEST", 200, 200);
}
To properly load in your font, copy your project id and the file name from the font you uploaded.

Your project id is located between "gamelab/" and "/edit".
Then, replace the "your_project_id" with your project id and the "your_font_name.png" with the font file you uploaded.
Well, that's the end of this tutorial.
Tip: You can use the fonts you have uploaded with any Game Lab project.